Setting up DNS for your sending domain helps your emails look more authentic and improves deliverability. For more information or if you are setting up your sending domain for the first time during onboarding, see Why do I need to set up DNS, and what does it do?
This article explains how to add a sending domain to your Campaigns account, connect your DNS automatically with Entri, or complete setup manually if needed.
I. Add your sending domain
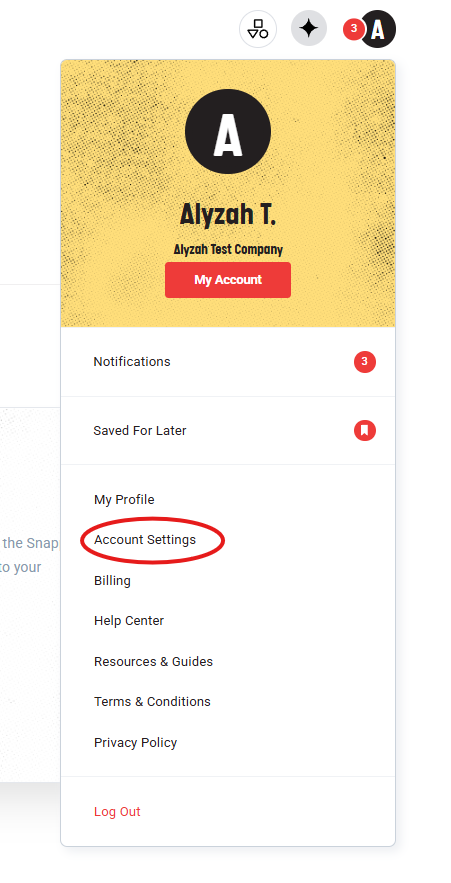
- From your Campaigns dashboard, click your profile icon in the top-right corner.
Select Account Settings.
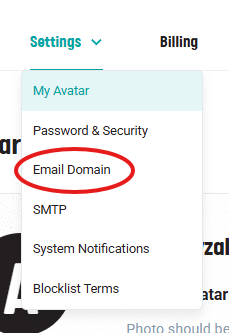
Open the Settings menu.
Select Email Domains.
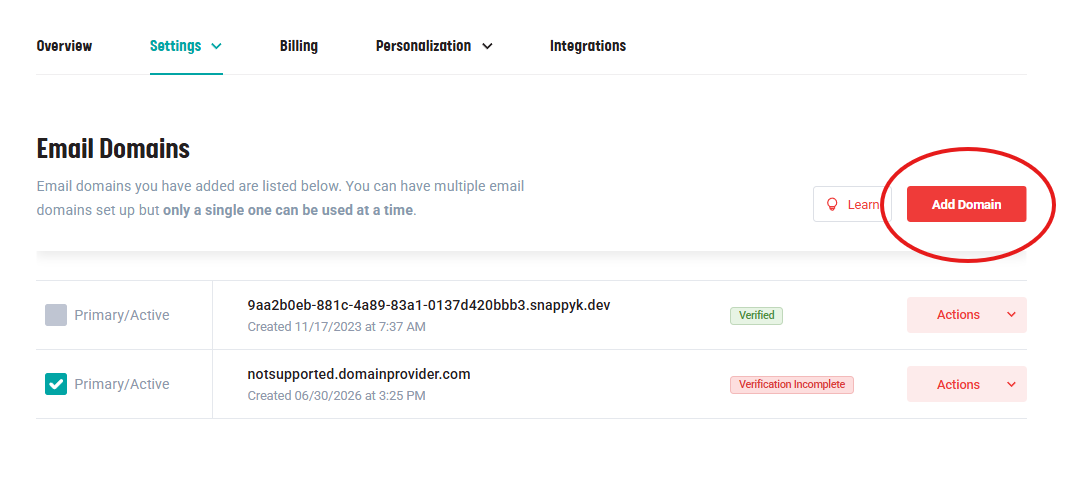
Click Add Domain.
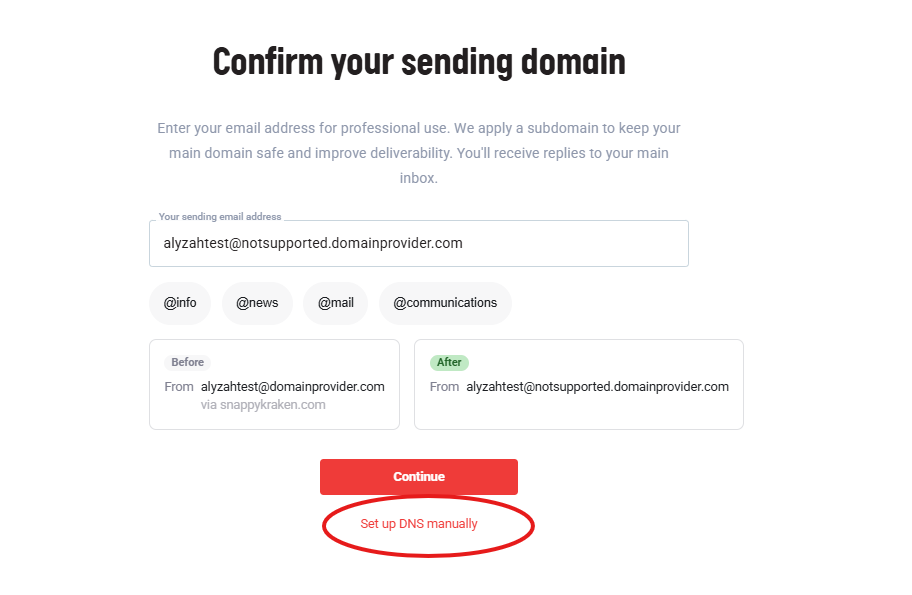
Enter the sending email address you want your contacts to see.
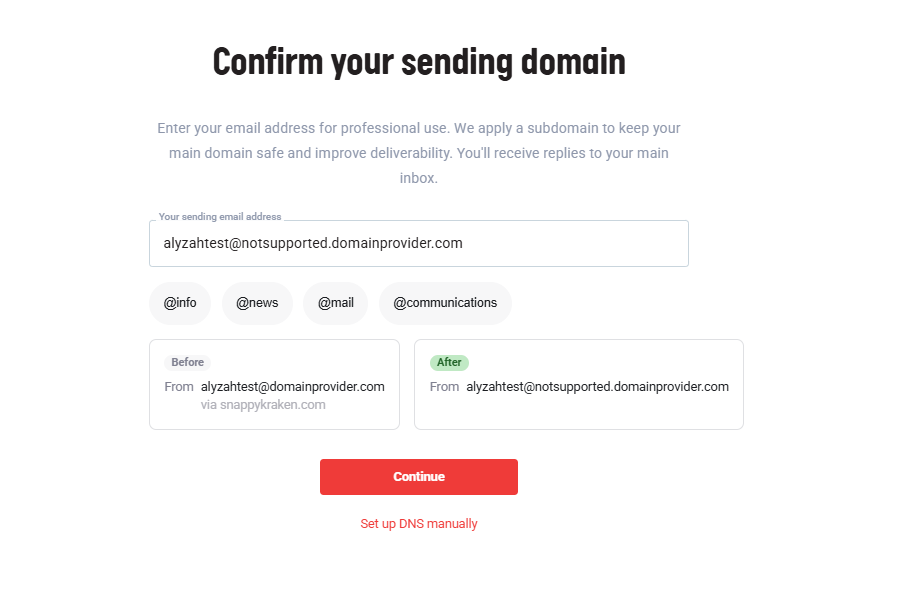
Select one of the suggested subdomains or enter a custom subdomain, such as
comms.NOTE: If your organization requires a specific subdomain, you may not be able to change this option.
After your domain is added, you can choose automatic or manual DNS setup.
II. DNS Setup
Option 1: Set up DNS automatically with Entri
Campaigns uses a third-party tool called Entri to help connect to your domain provider and add the required DNS records automatically.
To set up DNS automatically
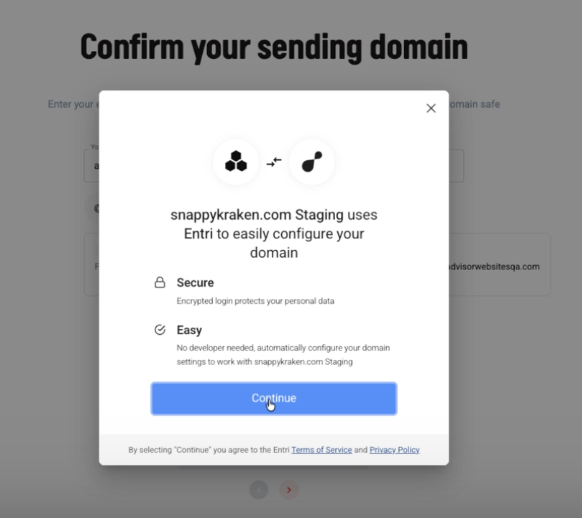
Click Continue to use Entri for automatic DNS setup.
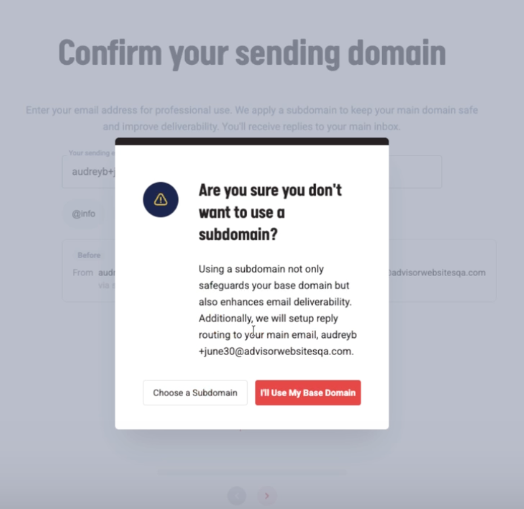
If no subdomain has been set, a message appears suggesting a subdomain be added.
Select the appropriate choice for your case.
Review the message explaining that DNS setup will be handled automatically.
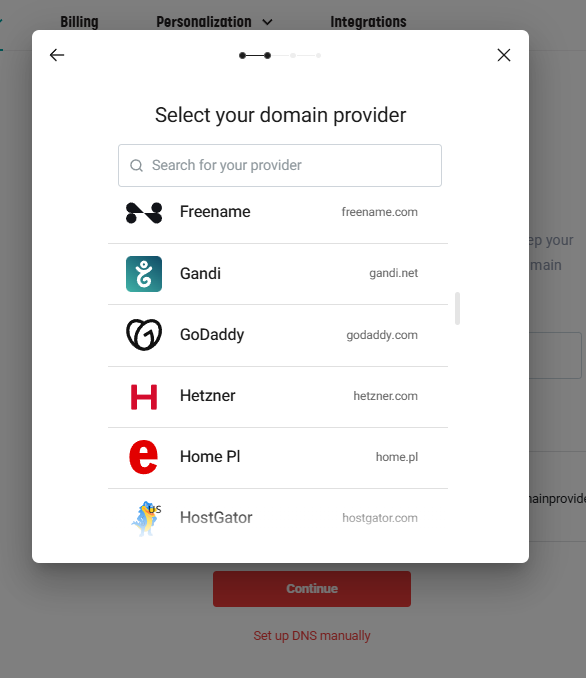
When the Entri window opens, choose your domain provider.
Sign in to your domain provider account.
Approve or authorize Entri to make the required DNS changes.
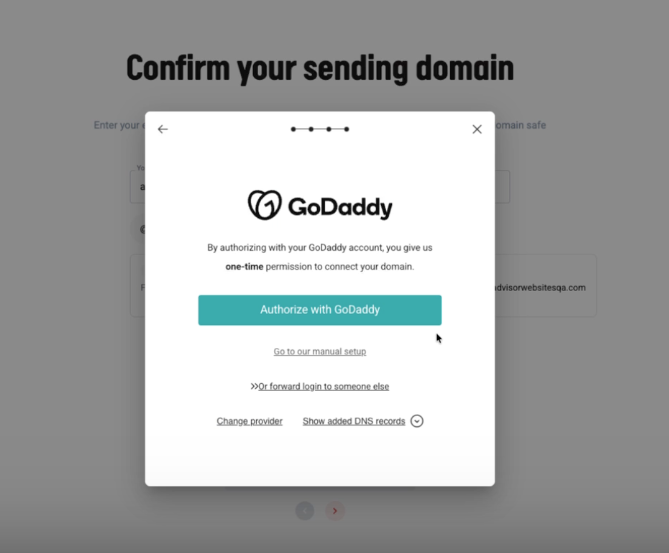
Click Connect.
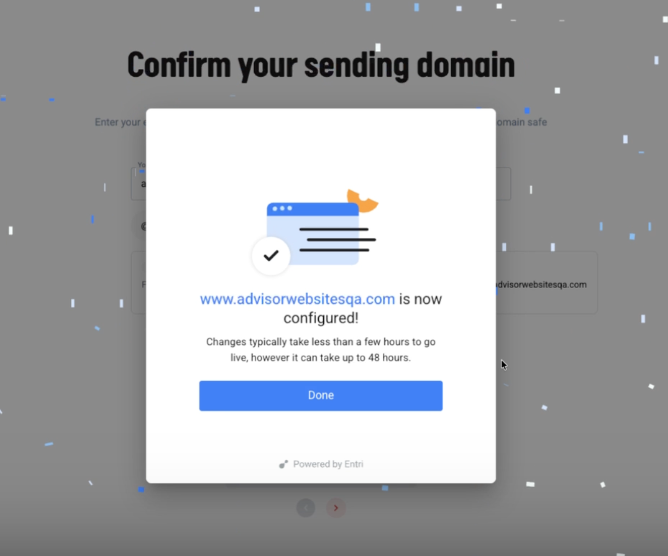
Once connected, the required DNS records are published automatically.
If you do not see your domain provider in Entri, close the pop-up and use the manual setup option instead.
Option 2: Set up DNS manually
If your domain provider is not supported by Entri, or if you do not want to authorize Entri to make DNS changes, you can add the DNS records manually.
Before you begin
Manual DNS setup requires access to your domain provider account and some technical knowledge. Incorrect DNS changes can affect your current email or website availability.
We recommend contacting your website, email, or domain administrator before making manual DNS updates.
To set up DNS manually
Select Set up DNS manually.
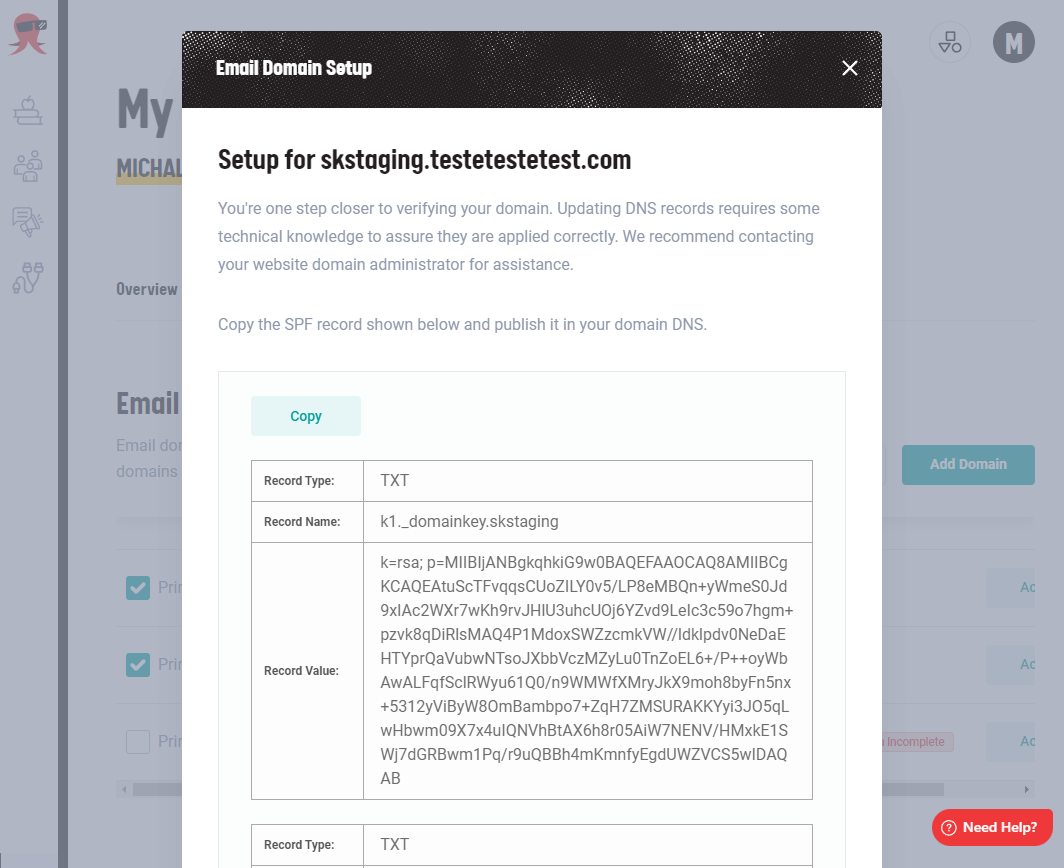
Copy each DNS record shown in Campaigns.
Sign in to your domain provider account.
Add each DNS record exactly as shown.
Save your changes.
Important Notes
- Do not edit, combine, or add the provided records to existing records. The records must be added exactly as shown, or they may not work.
- Do not delete any existing DNS records. Deleting existing records may affect your current email or website. Campaigns’ DNS records are added at the subdomain level to help avoid conflicts with your existing domain setup.
III. Verify your domain
DNS changes can take 1 to 48 hours to fully update across the internet. During this time, your domain may show as Pending or Verification Incomplete.
To check your domain status
- Go to Account Settings → Email Domains.
- Find the domain you added.
- If the domain is still verifying, you can:
- Wait for verification to complete automatically, or
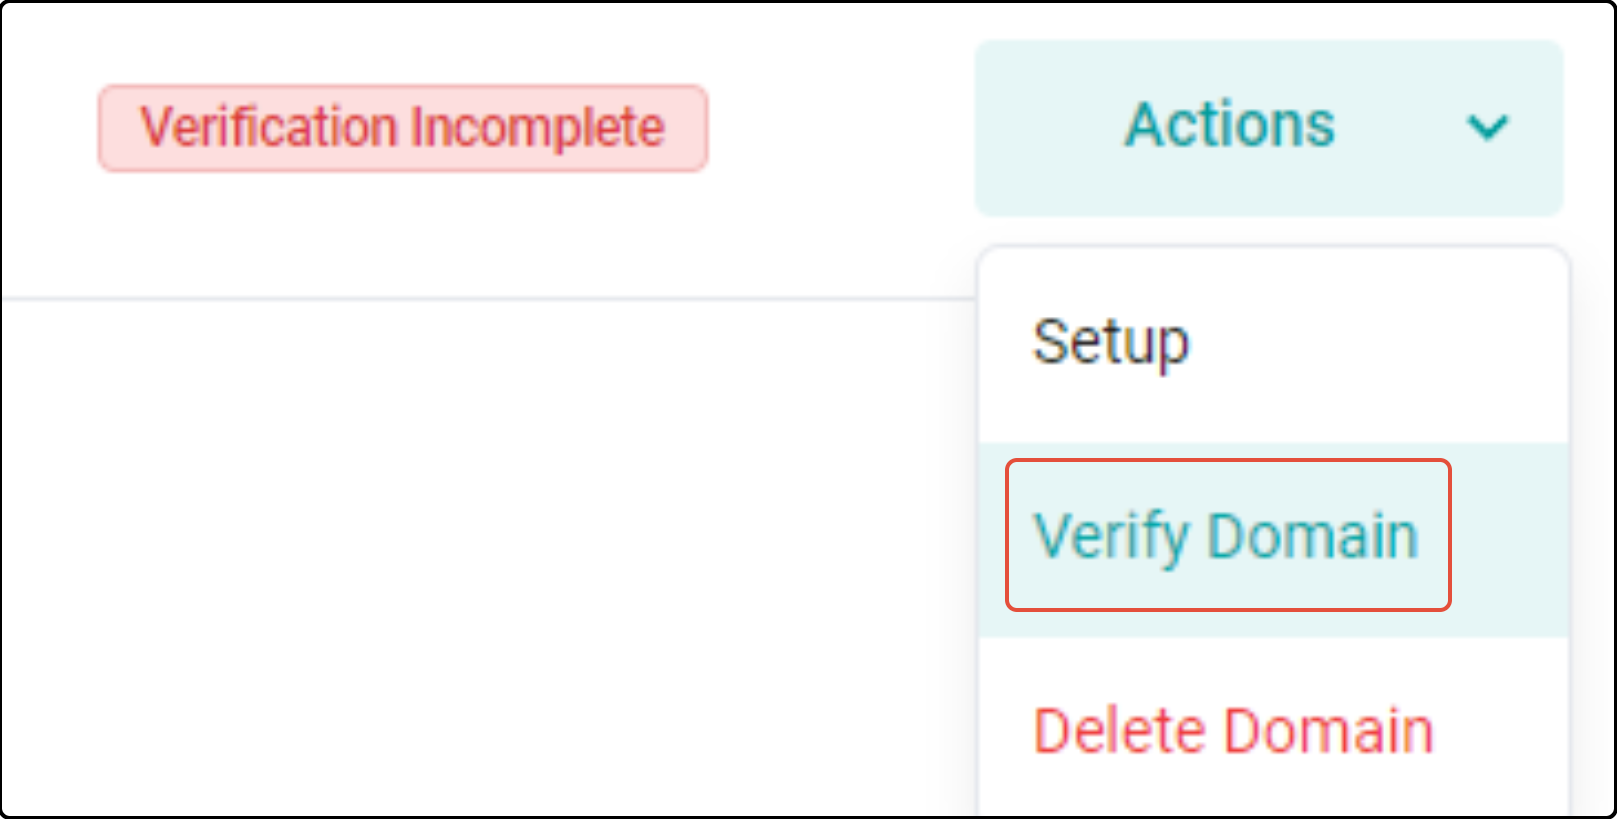
- Click Verify Domain to check again.
When verification is successful, the status changes from Verification Incomplete to Verified.
Your DNS setup is complete once your domain is verified.
Frequently asked questions
My domain is already listed, but I need to set it up or view my DNS records. What should I do?
If your domain has already been registered and appears in your Email Domains list, you can still set up or review its DNS records.
- Click the Actions menu next to your domain.
- Select Setup.

From there, you can either:
- Select Set up DNS automatically to connect with Entri, or
- Copy the DNS records and complete the setup manually.
Then follow the verification steps above.
I’m seeing an error about existing DNS record conflicts. What should I do?
This warning means records already exist on your domain and do not match the records required by Campaigns.
You can either:
- Continue if you understand the impact, or
- Adjust your subdomain or domain settings to avoid the conflict.
If you are unsure, contact your website, email, or domain administrator before continuing.
How long does verification take?
Most domains verify within a few minutes to a few hours. In some cases, DNS propagation can take up to 48 hours.
If your status still shows Verification Incomplete after 48 hours, confirm that every DNS record was added exactly as shown.
If the issue persists after that, contact support.
Do I have to use a subdomain?
Depending on your account or organization settings, you may be able to use either a subdomain or your base/root domain.
We recommend using a subdomain when available, as it protects your main domain and improves email deliverability. See Why do I need to set up DNS, and what does it do?
What if my domain provider is not supported by Entri?
You can complete setup manually by copying the DNS records from Campaigns and adding them to your domain provider account.
Need help?
If you need assistance setting up or verifying your domain, please submit a support ticket with details about the issue and your account information.